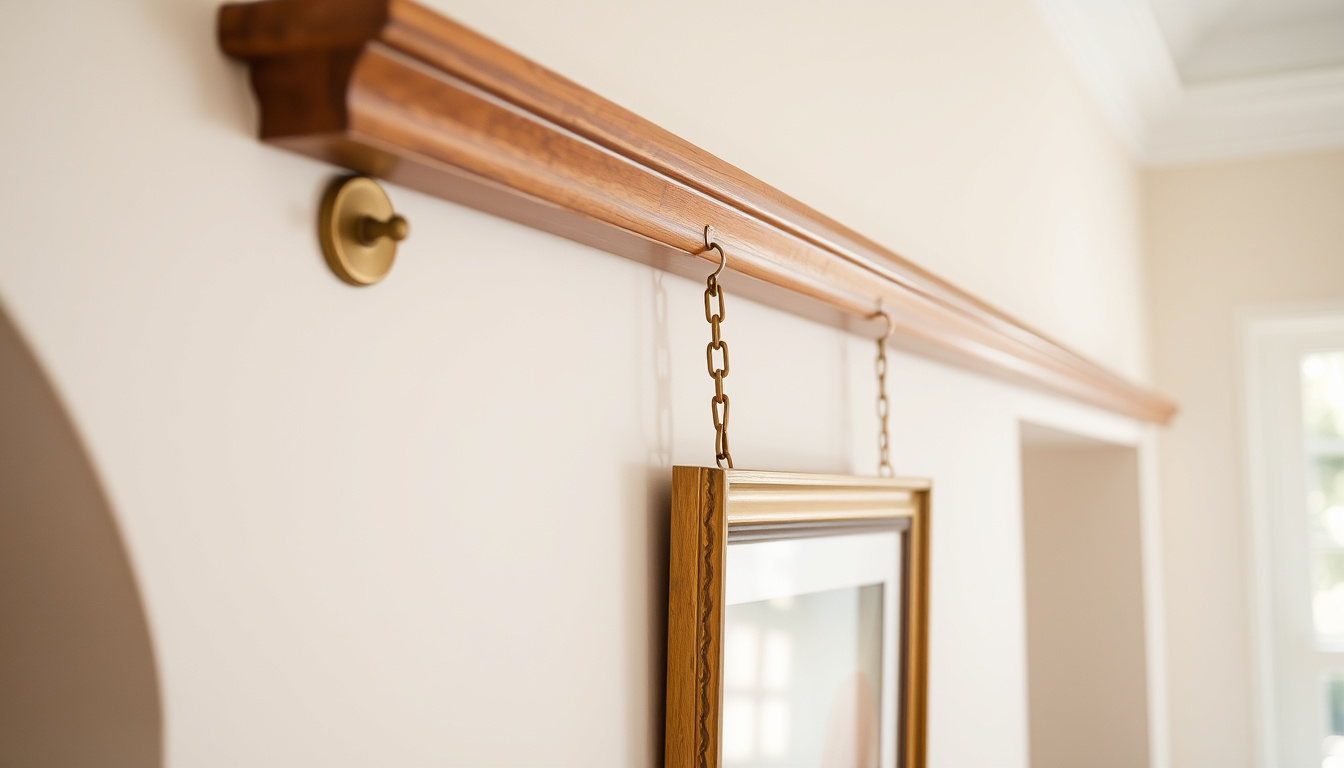
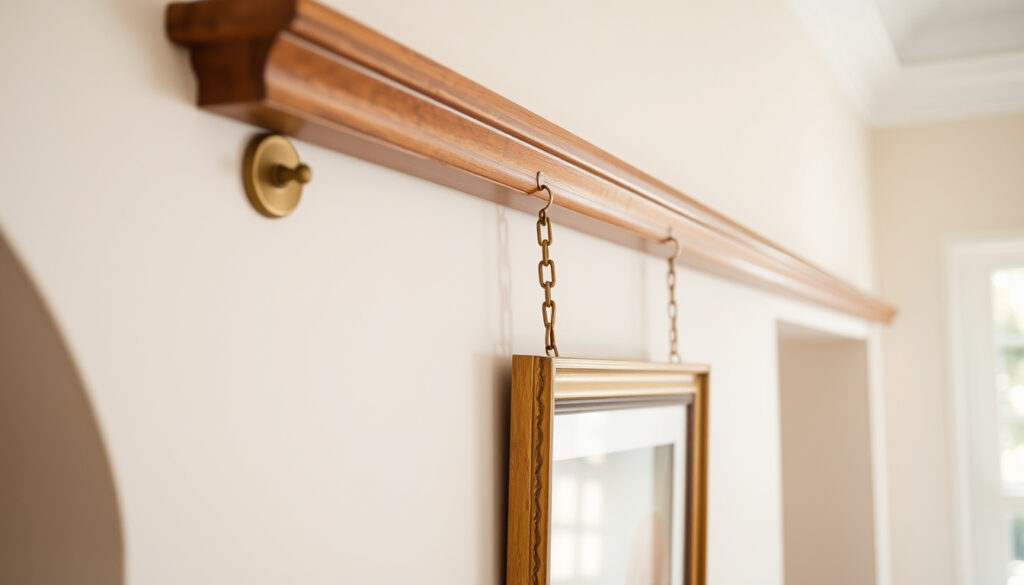
Anyone who has tried hanging a heavy frame on a plaster wall knows the sinking feeling of watching the plug crumble. Picture rails solve that problem elegantly—and they have been doing it for centuries. This guide covers everything from historical origins to modern installation, including a head-to-head comparison with dado rails and a breakdown of cost, thickness, and placement.
Typical height from ceiling: 6–12 inches (15–30 cm) · Common material: Medium-density fiberboard (MDF) · Approximate cost per foot (MDF): £2–£4 (USD $2.50–$5.00) · Historical origin: 1600s for hanging tapestries · Typical thickness: 1–2 inches (2.5–5 cm)
- Picture rails prevent wall damage when hanging artwork (MDF Skirting World (specialist moulding supplier))
- Picture rails first appeared in the 1600s for hanging tapestries
- Typical placement is 6–12 inches (15–30 cm) below the ceiling
- MDF is the most budget-friendly common material
- Typical height from ceiling: 6–12 inches (15–30 cm)
- Common material: Medium-density fiberboard (MDF)
- Approximate cost per foot (MDF): £2–£4 (USD $2.50–$5.00)
- Historical origin: 1600s for hanging tapestries
- Typical thickness: 1–2 inches (2.5–5 cm)
- MDF: £2–£4 per foot (USD $2.50–$5.00)
- Hardwood: £4–£8 per foot (USD $5.00–$10.00)
- PVC: £3–£6 per foot
- Profile height (face): 30–60 mm (common ~40 mm)
- Picture rails are experiencing a modern revival in interior design
- Properly installed picture rails do not make a room look smaller
- Common in high-ceiling period homes
- Installed near ceiling (6–12 in down)
Quick Reference Spec Table
| Profile height (face) | 30–60 mm (common ~40 mm) |
|---|---|
| Thickness (projection from wall) | 1–2 inches (2.5–5 cm) |
| Height from ceiling (UK standard) | 200–300 mm (8–12 in) |
| Height from ceiling (US standard) | 6–12 inches (15–30 cm) |
| Cost per foot (MDF) | £2–£4 (USD $2.50–$5.00) |
| Cost per foot (hardwood) | £4–£8 (USD $5.00–$10.00) |
What Is a Picture Rail?
Picture rails first appeared in the 1600s as a practical way to hang heavy tapestries. A picture rail is not just a strip of wood near the ceiling. It is a functional molding installed horizontally along the wall, typically 6–12 inches below the ceiling, designed to support hanging wires and hooks for artwork without requiring nails or screws driven into the plaster.
The table below compresses the essential facts about picture rails into a quick-reference format. The pattern: picture rails serve an active purpose (hanging), while dado rails serve a defensive one (protection).
Picture Rail vs. Dado Rail: Key Differences
A picture rail, by contrast, is placed 200–300 mm below the ceiling. A dado rail is set at waist height and was originally used as capping for half-wall panelling. Dado rails protect the lower wall from chair backs and scuff marks; picture rails protect the wall from hooks and nails.
- Dado rail: waist height, originally for wall protection, decorative divider.
- Picture rail: near ceiling, functional hanging system, originally for tapestries and frames.
Homeowners in Victorian or Edwardian properties who strip away a picture rail aren’t just losing a hooking point—they’re erasing a design feature that was integral to how the room was originally used and decorated.
According to Fine Art Mouldings (plasterwork specialist), a picture rail typically sits about 30 cm below the ceiling. There is no single correct height in modern use, and experts may recommend 24–72 inches from floor level for dado rail placement, per the same source.
Cost and Materials
The table below compresses the essential facts about picture rails into a quick-reference format. Room height, wall material, and the weight of what you’re hanging all influence the right specification.
- MDF (Medium-density fiberboard): £2–£4 per foot (USD $2.50–$5.00).
- Hardwood (oak, pine, tulipwood): £4–£8 per foot.
- PVC: £3–£6 per foot.
Generally positioned near the ceiling, material choice affects both durability and cost. Exact cost varies by region and material quality.
Thickness and Placement
Standard picture rails range from 1 to 2 inches (2.5–5 cm) in thickness, measured from the wall face to the front edge.
- 1 inch (2.5 cm): Suitable for smaller rooms or minimalist interiors.
- 1.5 inches (3.8 cm): Most common—works with standard picture hooks and suits average ceiling heights.
- 2 inches (5 cm): Heavier look, often used in grand Victorian rooms with high cornices.
The most consistent approach is to run the picture rail at the same height all around the room, which typically means it sits above the door frame. According to MDF Skirting World (moulding supplier), the most common position is 200–300 mm below the ceiling, which naturally places it above the door line.
Design and Value
Interior design blogs, renovation shows, and home magazines increasingly feature picture rails as a desirable period detail that also solves the practical problem of wall damage. In modern homes, a well-installed rail suggests thoughtful design. The key is proportion: a rail that sits too low (below the door line) can visually compress the wall.
A picture rail that’s painted the same colour as the wall disappears visually and offers no character gain. A contrasting colour, on the other hand, creates a deliberate design statement.
Do picture rails add value to a home?
What this means: picture rails are not old-fashioned—they’re traditional in the best sense. The modern buyer who skips a house because it has picture rails is probably not the buyer you want anyway. For buyers in a modern home, installing one adds a layer of character that paint alone can’t match.
Alternatives to Picture Rails
- Wall-mounted gallery rails: Metal or wooden rails that attach directly to the wall at any height; more flexible for renters but less integrated visually.
Pros and Cons
- Requires installation—not a plug-and-play solution
- Adds a visible horizontal line that may not suit modern minimalist decor
Expert Insights
“Picture rails have been around for centuries, starting out life in the 1600s as a way to hang tapestries.”
“Dado rails protect the lower wall; picture rails near the ceiling preserve the wall from hooks and nails.”
Both perspectives—one from a design publication, one from a trade supplier—agree on the core value: wall preservation.
Installation Tips
You’ll need a saw, drill, spirit level, and wall plugs. For plaster walls, use appropriate wall plugs to avoid crumbling. Always check for studs before securing the rail at intervals.
periodmouldings.co.uk, diydoctor.org.uk, buildit.co.za, mdfskirtingmouldings.co.uk, eveningledger.uk, mebuildingsolution.com, mdfskirtingmouldings.co.uk, thequoteyard.com.au, oakfurnitureland.co.uk, austingallery.org
Frequently Asked Questions
Why do old houses have picture rails?
Old houses have picture rails because they were the standard way to hang artwork and tapestries without damaging plaster walls. The 1600s origin was for tapestries; later, they became a design feature in Victorian and Edwardian homes.
How do I attach a picture rail to plaster walls?
Use a drill to create pilot holes at stud locations or use appropriate wall plugs. Secure the rail with screws, then fill and paint over the screw heads for a clean finish.
What is the difference between a picture rail and a dado rail?
A picture rail is installed near the ceiling for hanging pictures, while a dado rail is at waist height for wall protection and as a decorative divider.
Conclusion
Picture rails are an enduring utility—from tapestry hanging to modern artwork. They preserve walls, add character, and offer a practical design solution for any home.
Related stories





Alex Nguyen is Editor-in-Chief at BuzzLayer, overseeing editorial standards, publication decisions and corrections.